Snaplet
This step-by-step guide explains how to use Snaplet to clone your production Supabase project into another development database.
Snaplet is a developer tool that copies a Postgres database, transforming personal information, so that you can safely code against actual data. This functionality makes it possible to easily achieve environment parity in Supabase.
Let's get started!
Follow along in the video below as the founder of Snaplet, Peter Pistorius, takes you through the entire process. Otherwise, you can skip the video and dive into the step-by-step guide.
Step 1: Prerequisites#
- A production Supabase project's connection string: These can be found in Supabase via
Organization > Project > Database > Connection Pooling > Connection string - A development Supabase project's connection string: Same steps as above, but a different project/environment
- A read-only role in Production (recommended): This can be done by running the following statements on Supabase via
Organization > SQL Editor > + New Query
To create a read-only role across all schemas you can checkout the Snaplet docs
- Superuser access for the development project. This can be done in Supabase via
Organization > SQL Editor > + New Queryand running this statement:ALTER USER postgres WITH superuser;
Step 2: Copying your production database#
2.1. Connect your data source#
Navigate to https://www.snaplet.dev/ and sign up for a new account (it’s free). Once you have successfully signed up for a new account, create a team, and start by connecting to your Supabase project.
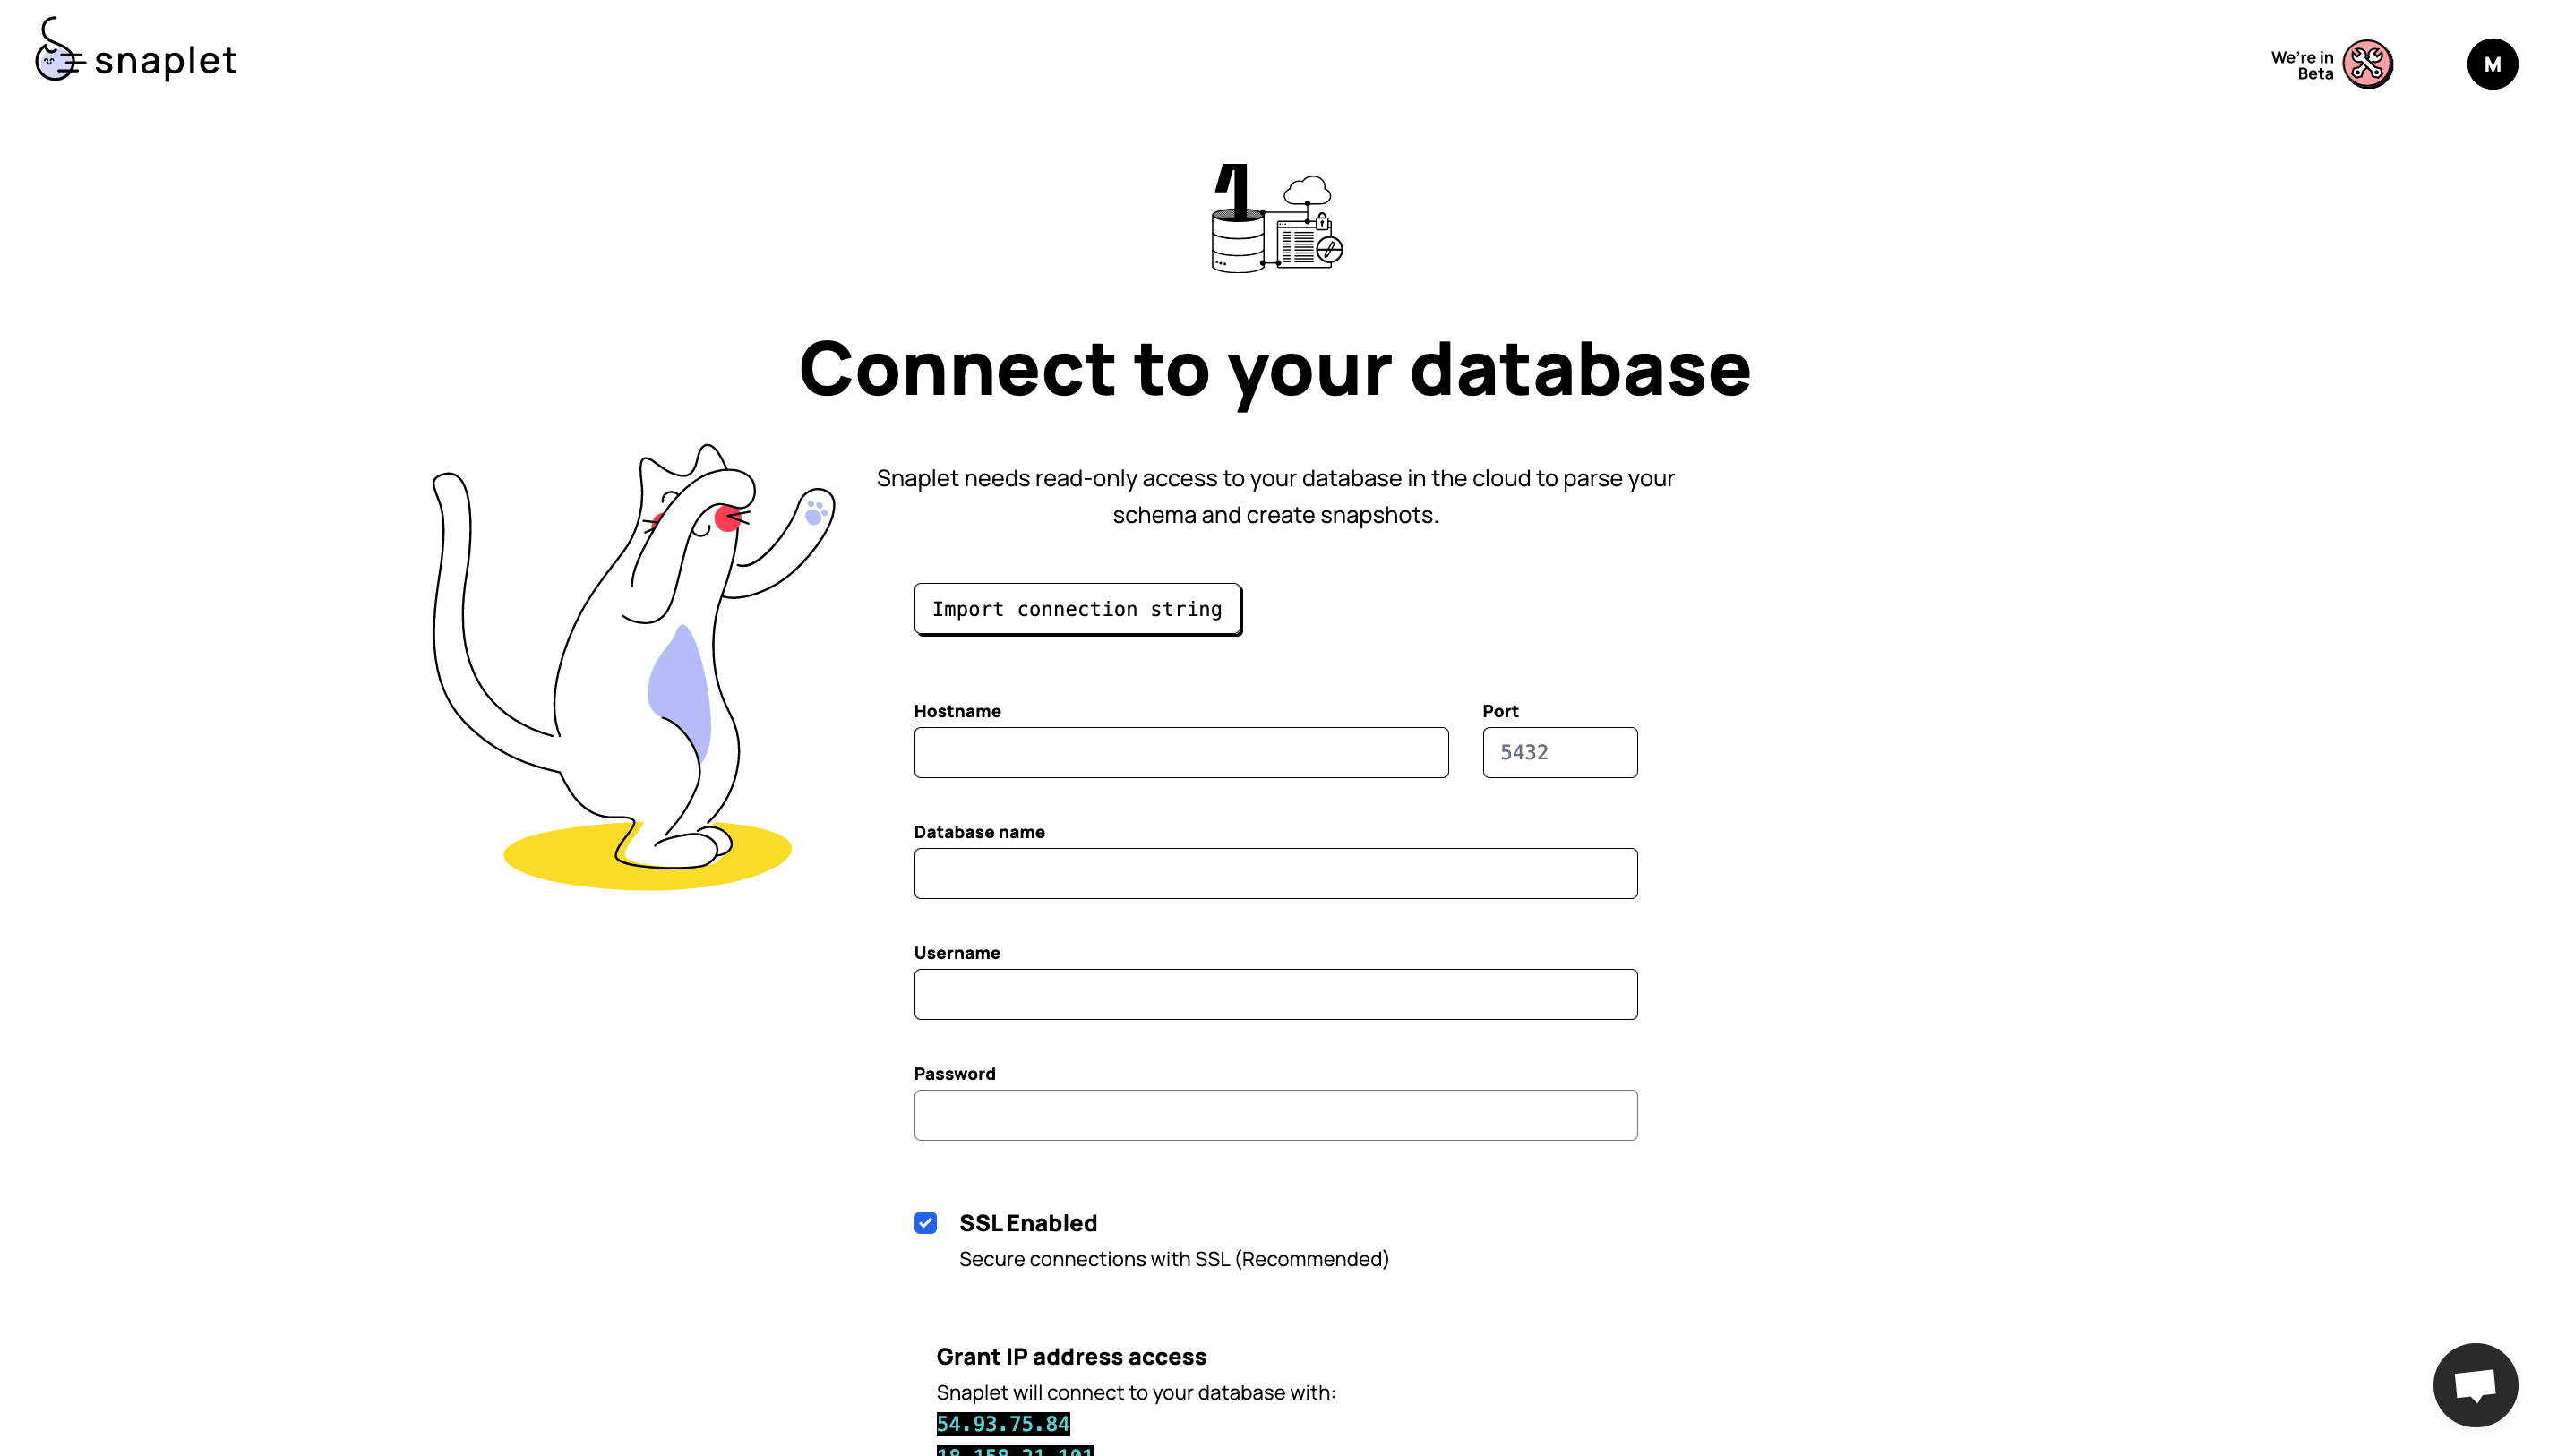
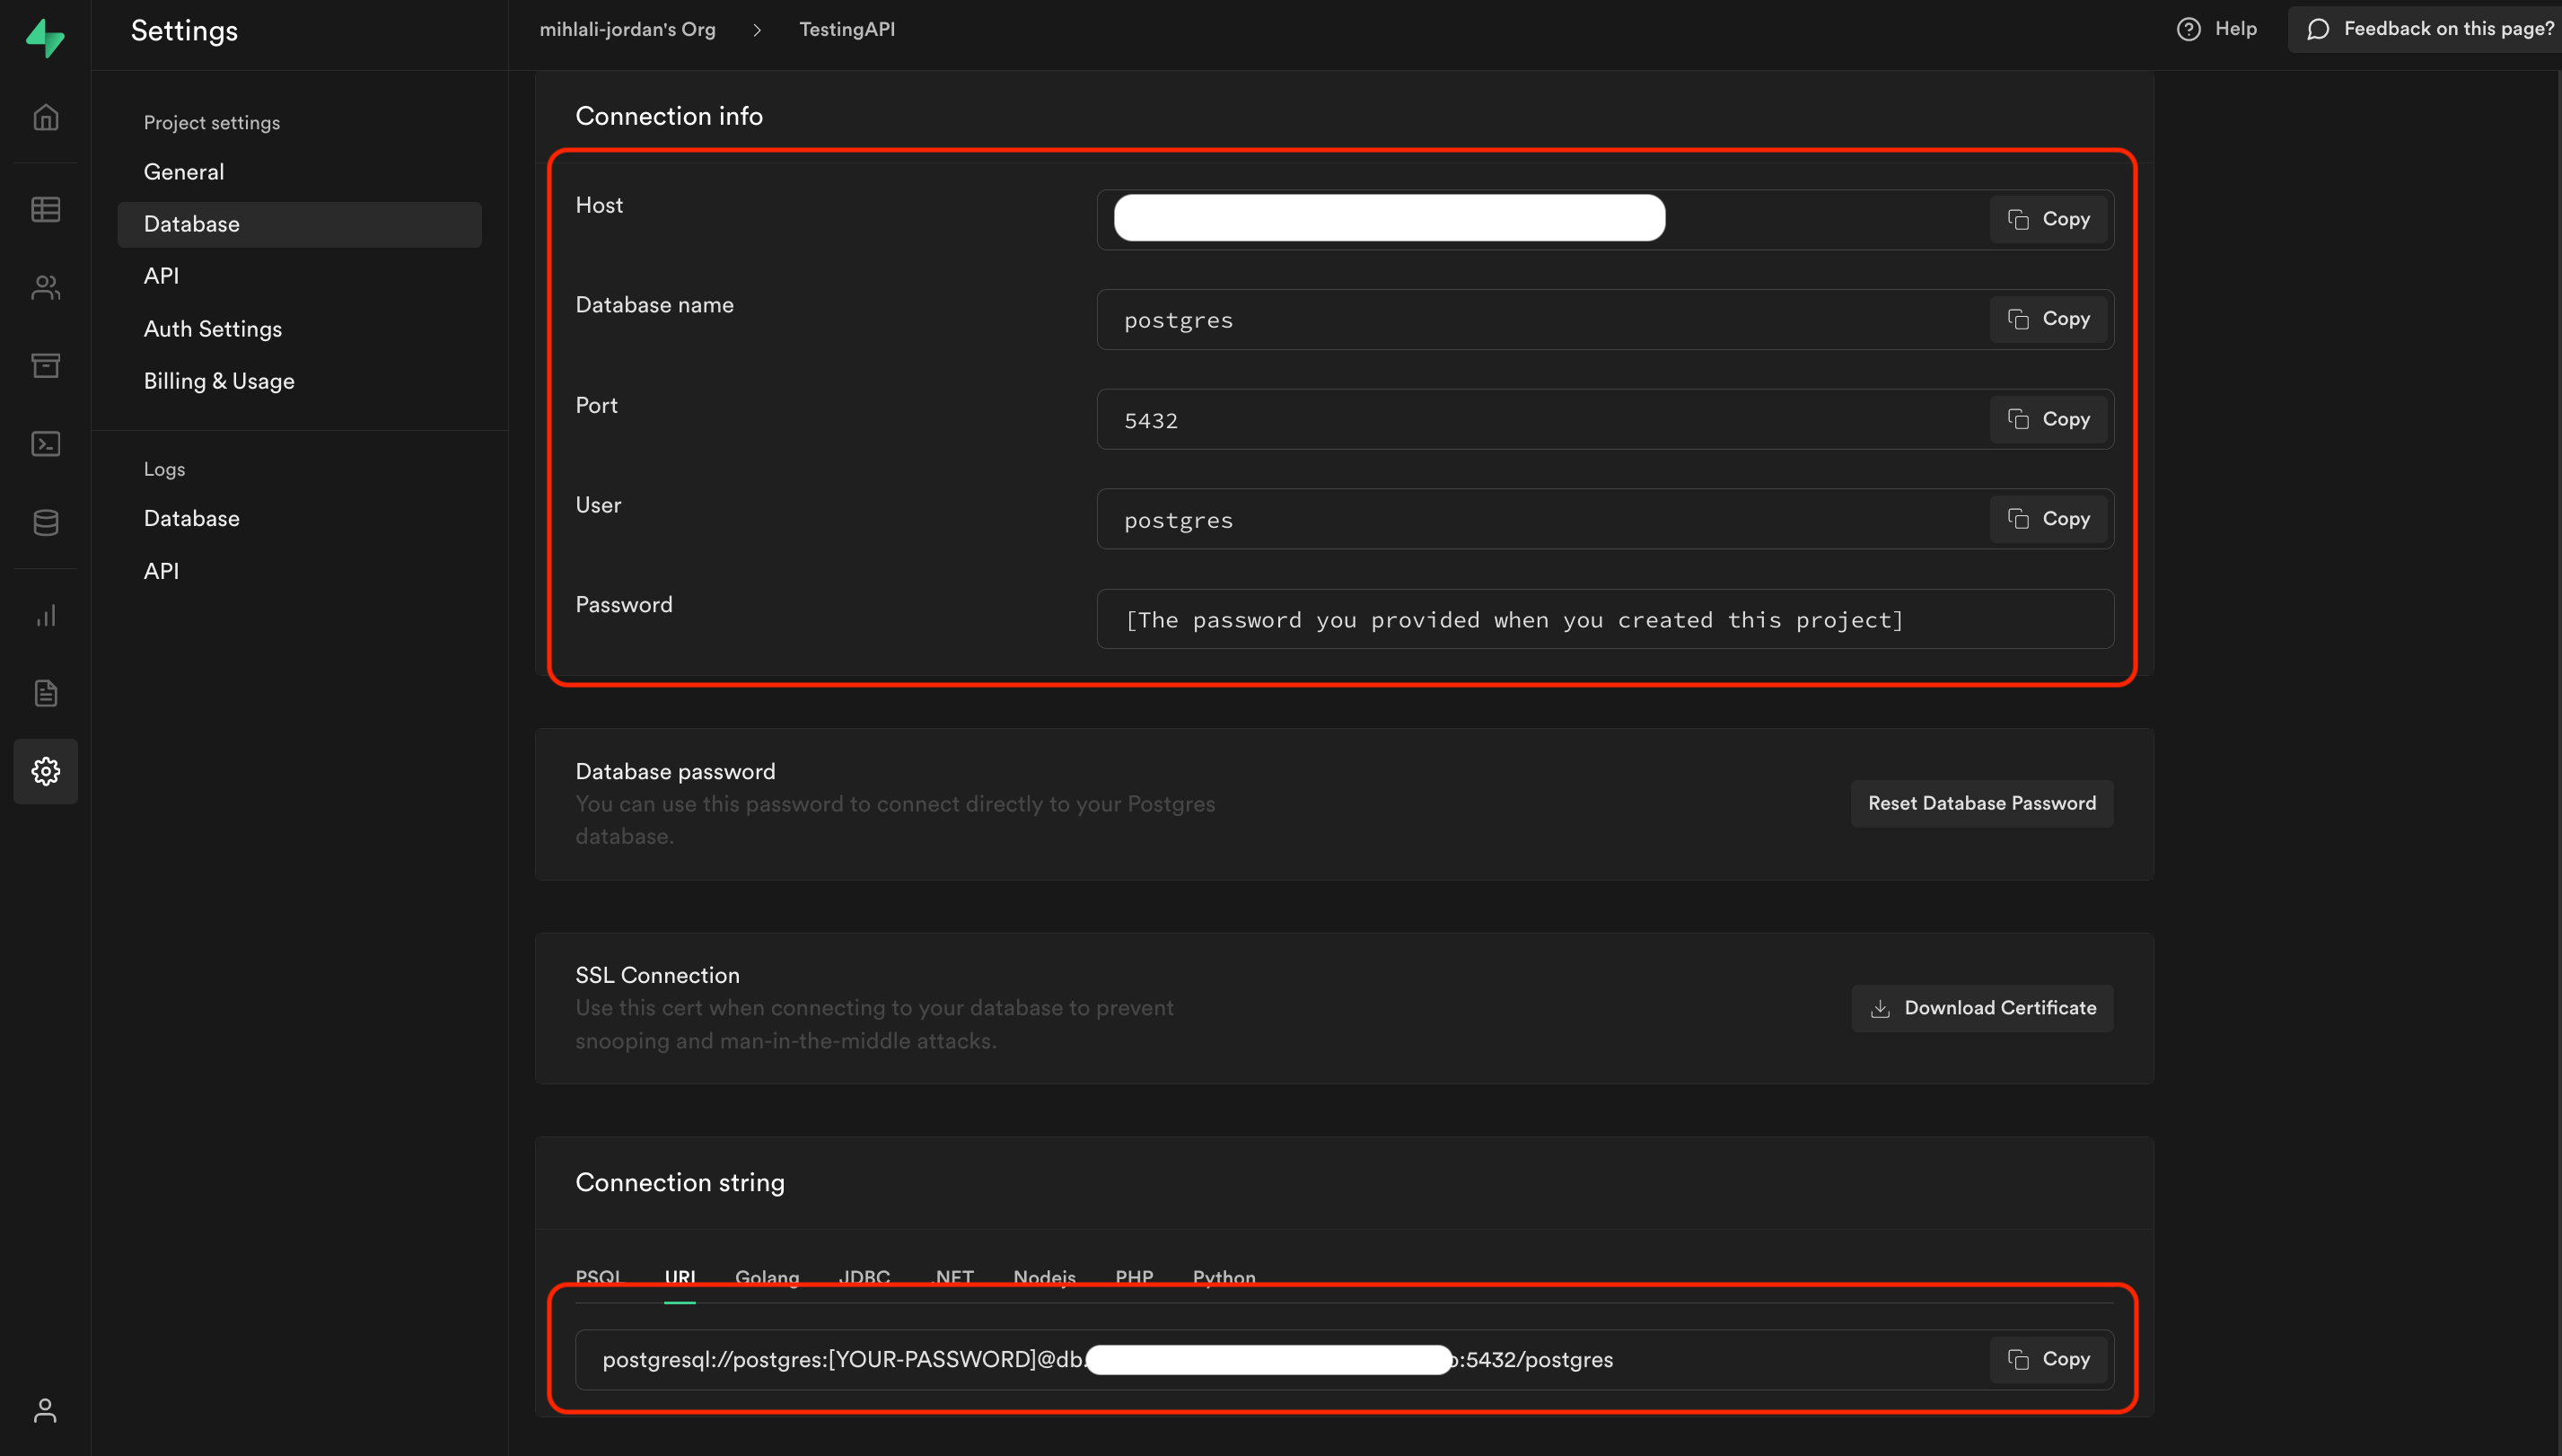
Enter the credentials of your production Supabase project. Find the "Connection string" in Supabase via Organization > Project > Settings > Database > Connection string (at the bottom of the page).
The password is the same password you used when creating the Supabase project.
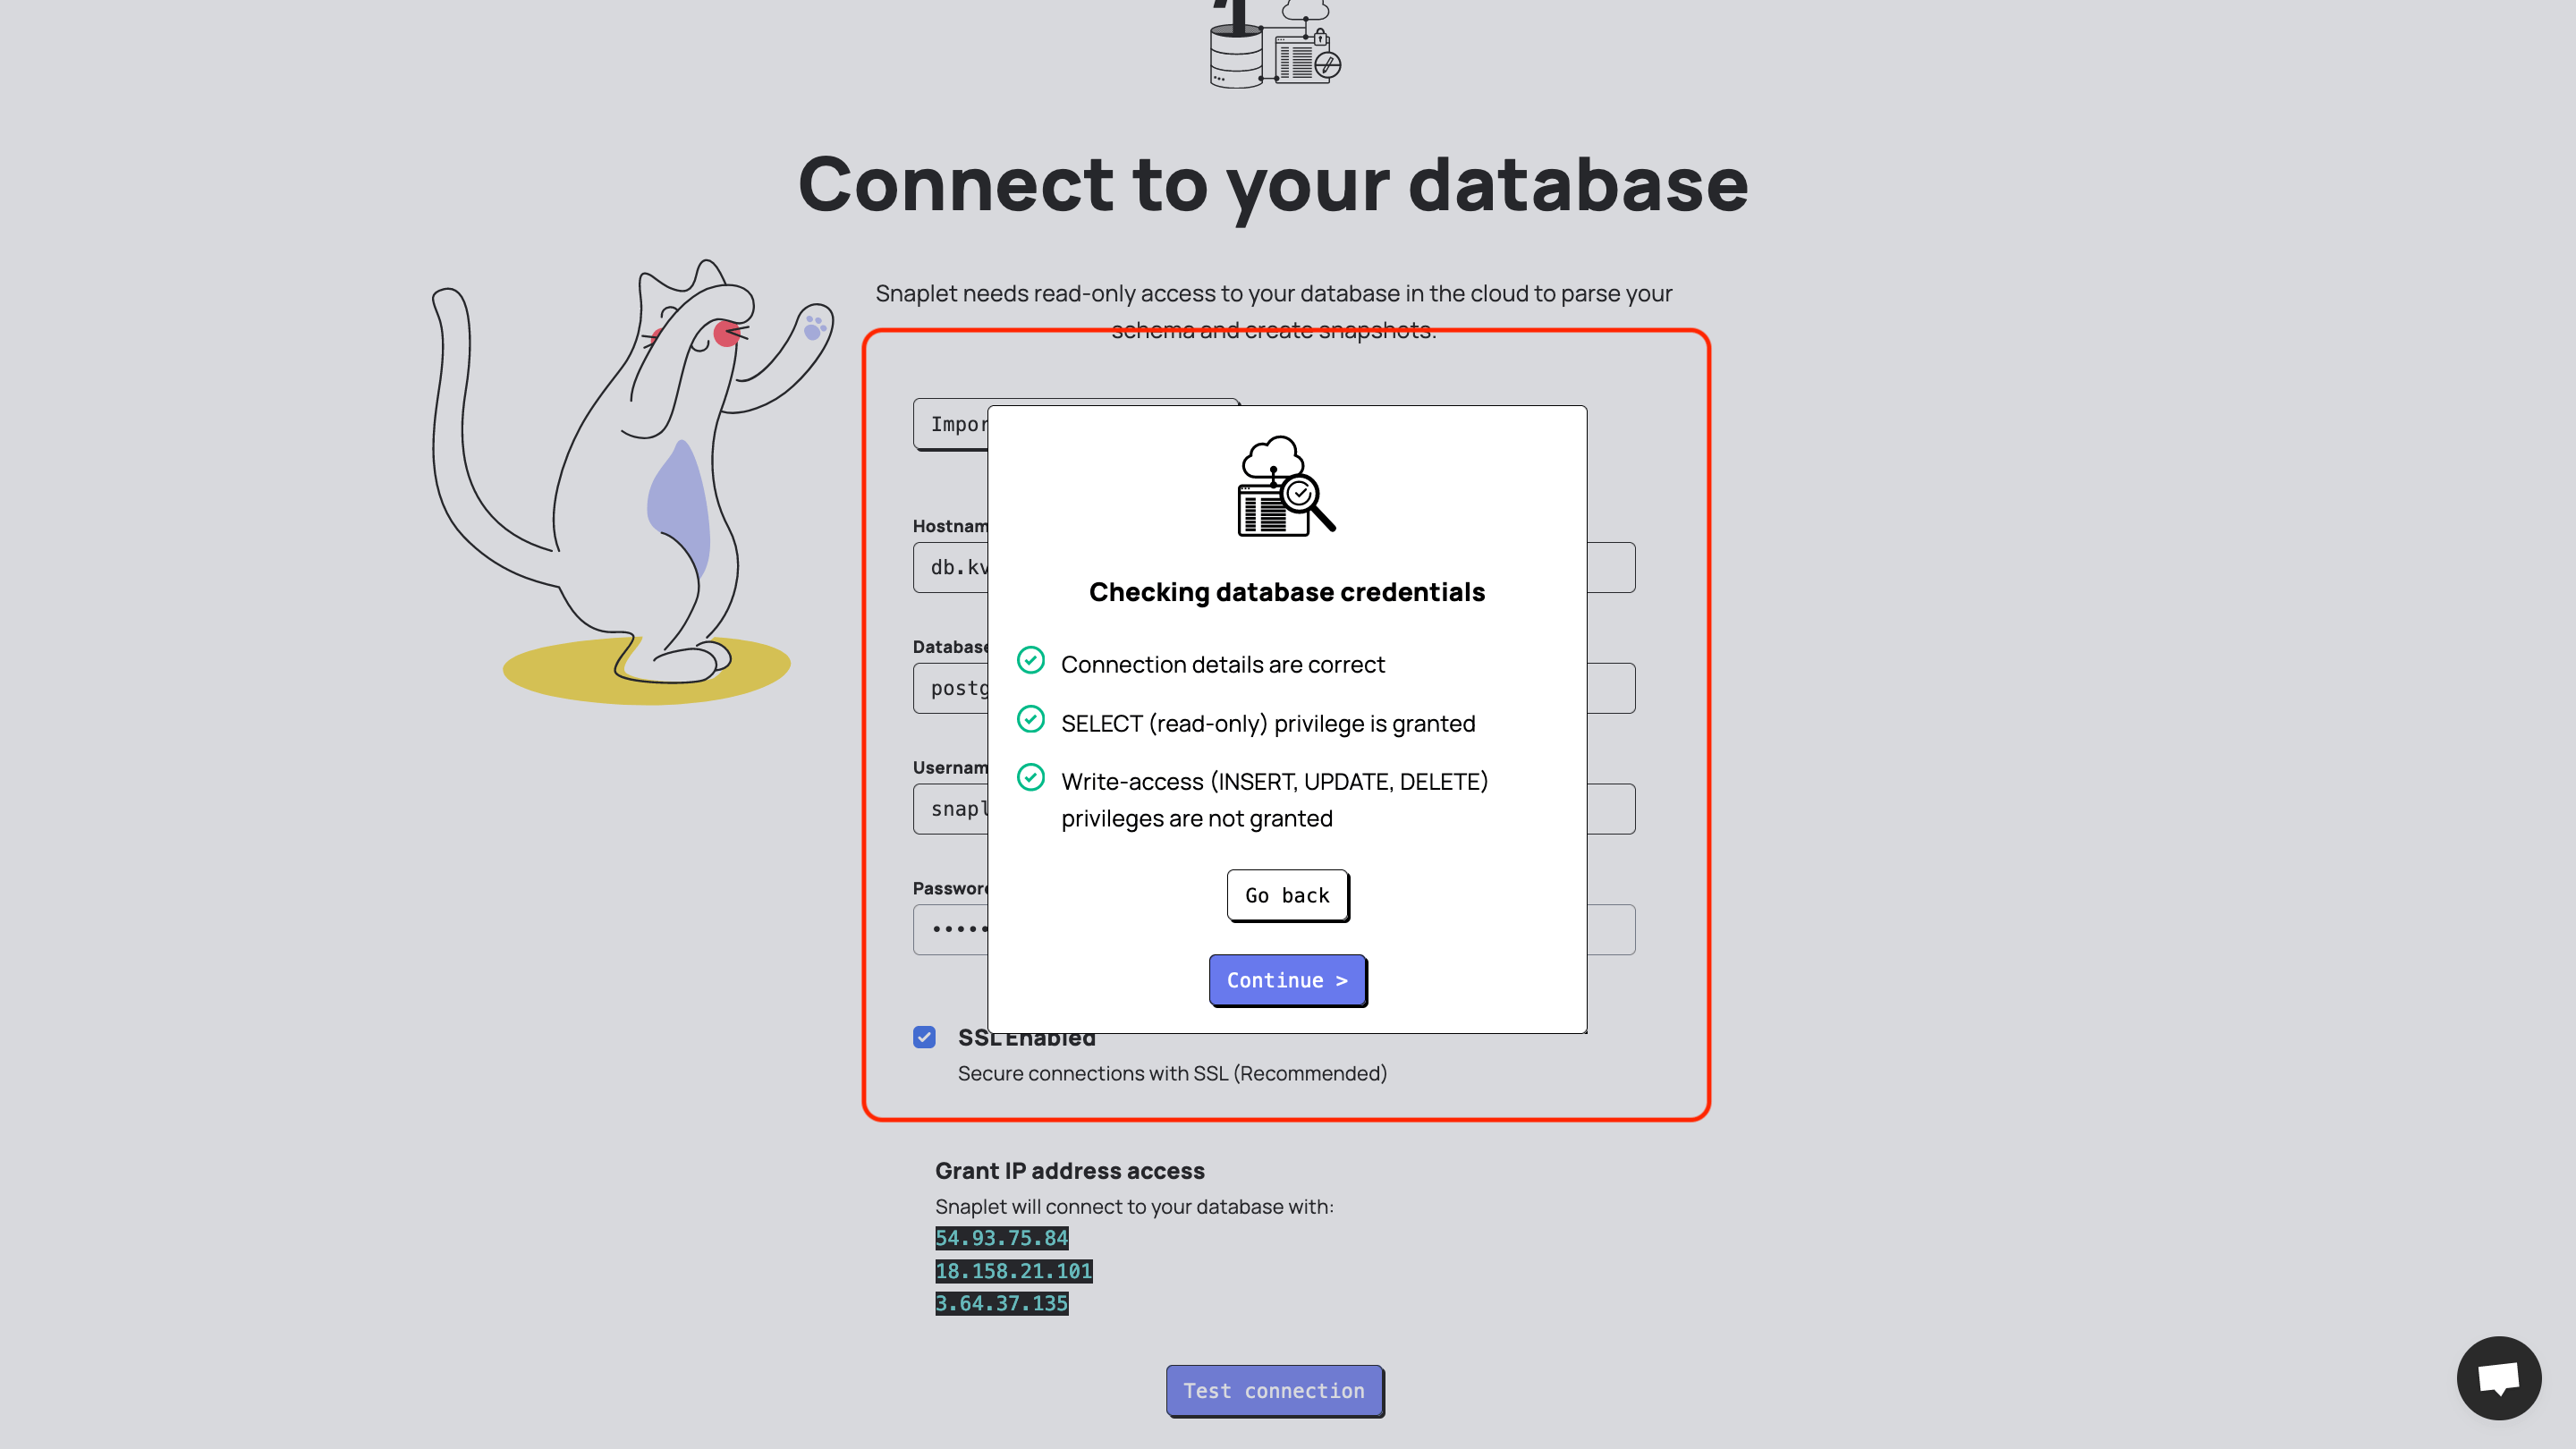
You’ll have to confirm providing Snaplet access to your database. Snaplet will prompt you to only provide read-only access to your database. Snaplet has a guide in their documentation on how to do so here.
Note that whatever connection string you provide here will be that of your Data Source – essentially the production database in a real-life scenario
2.2. Transform your data#
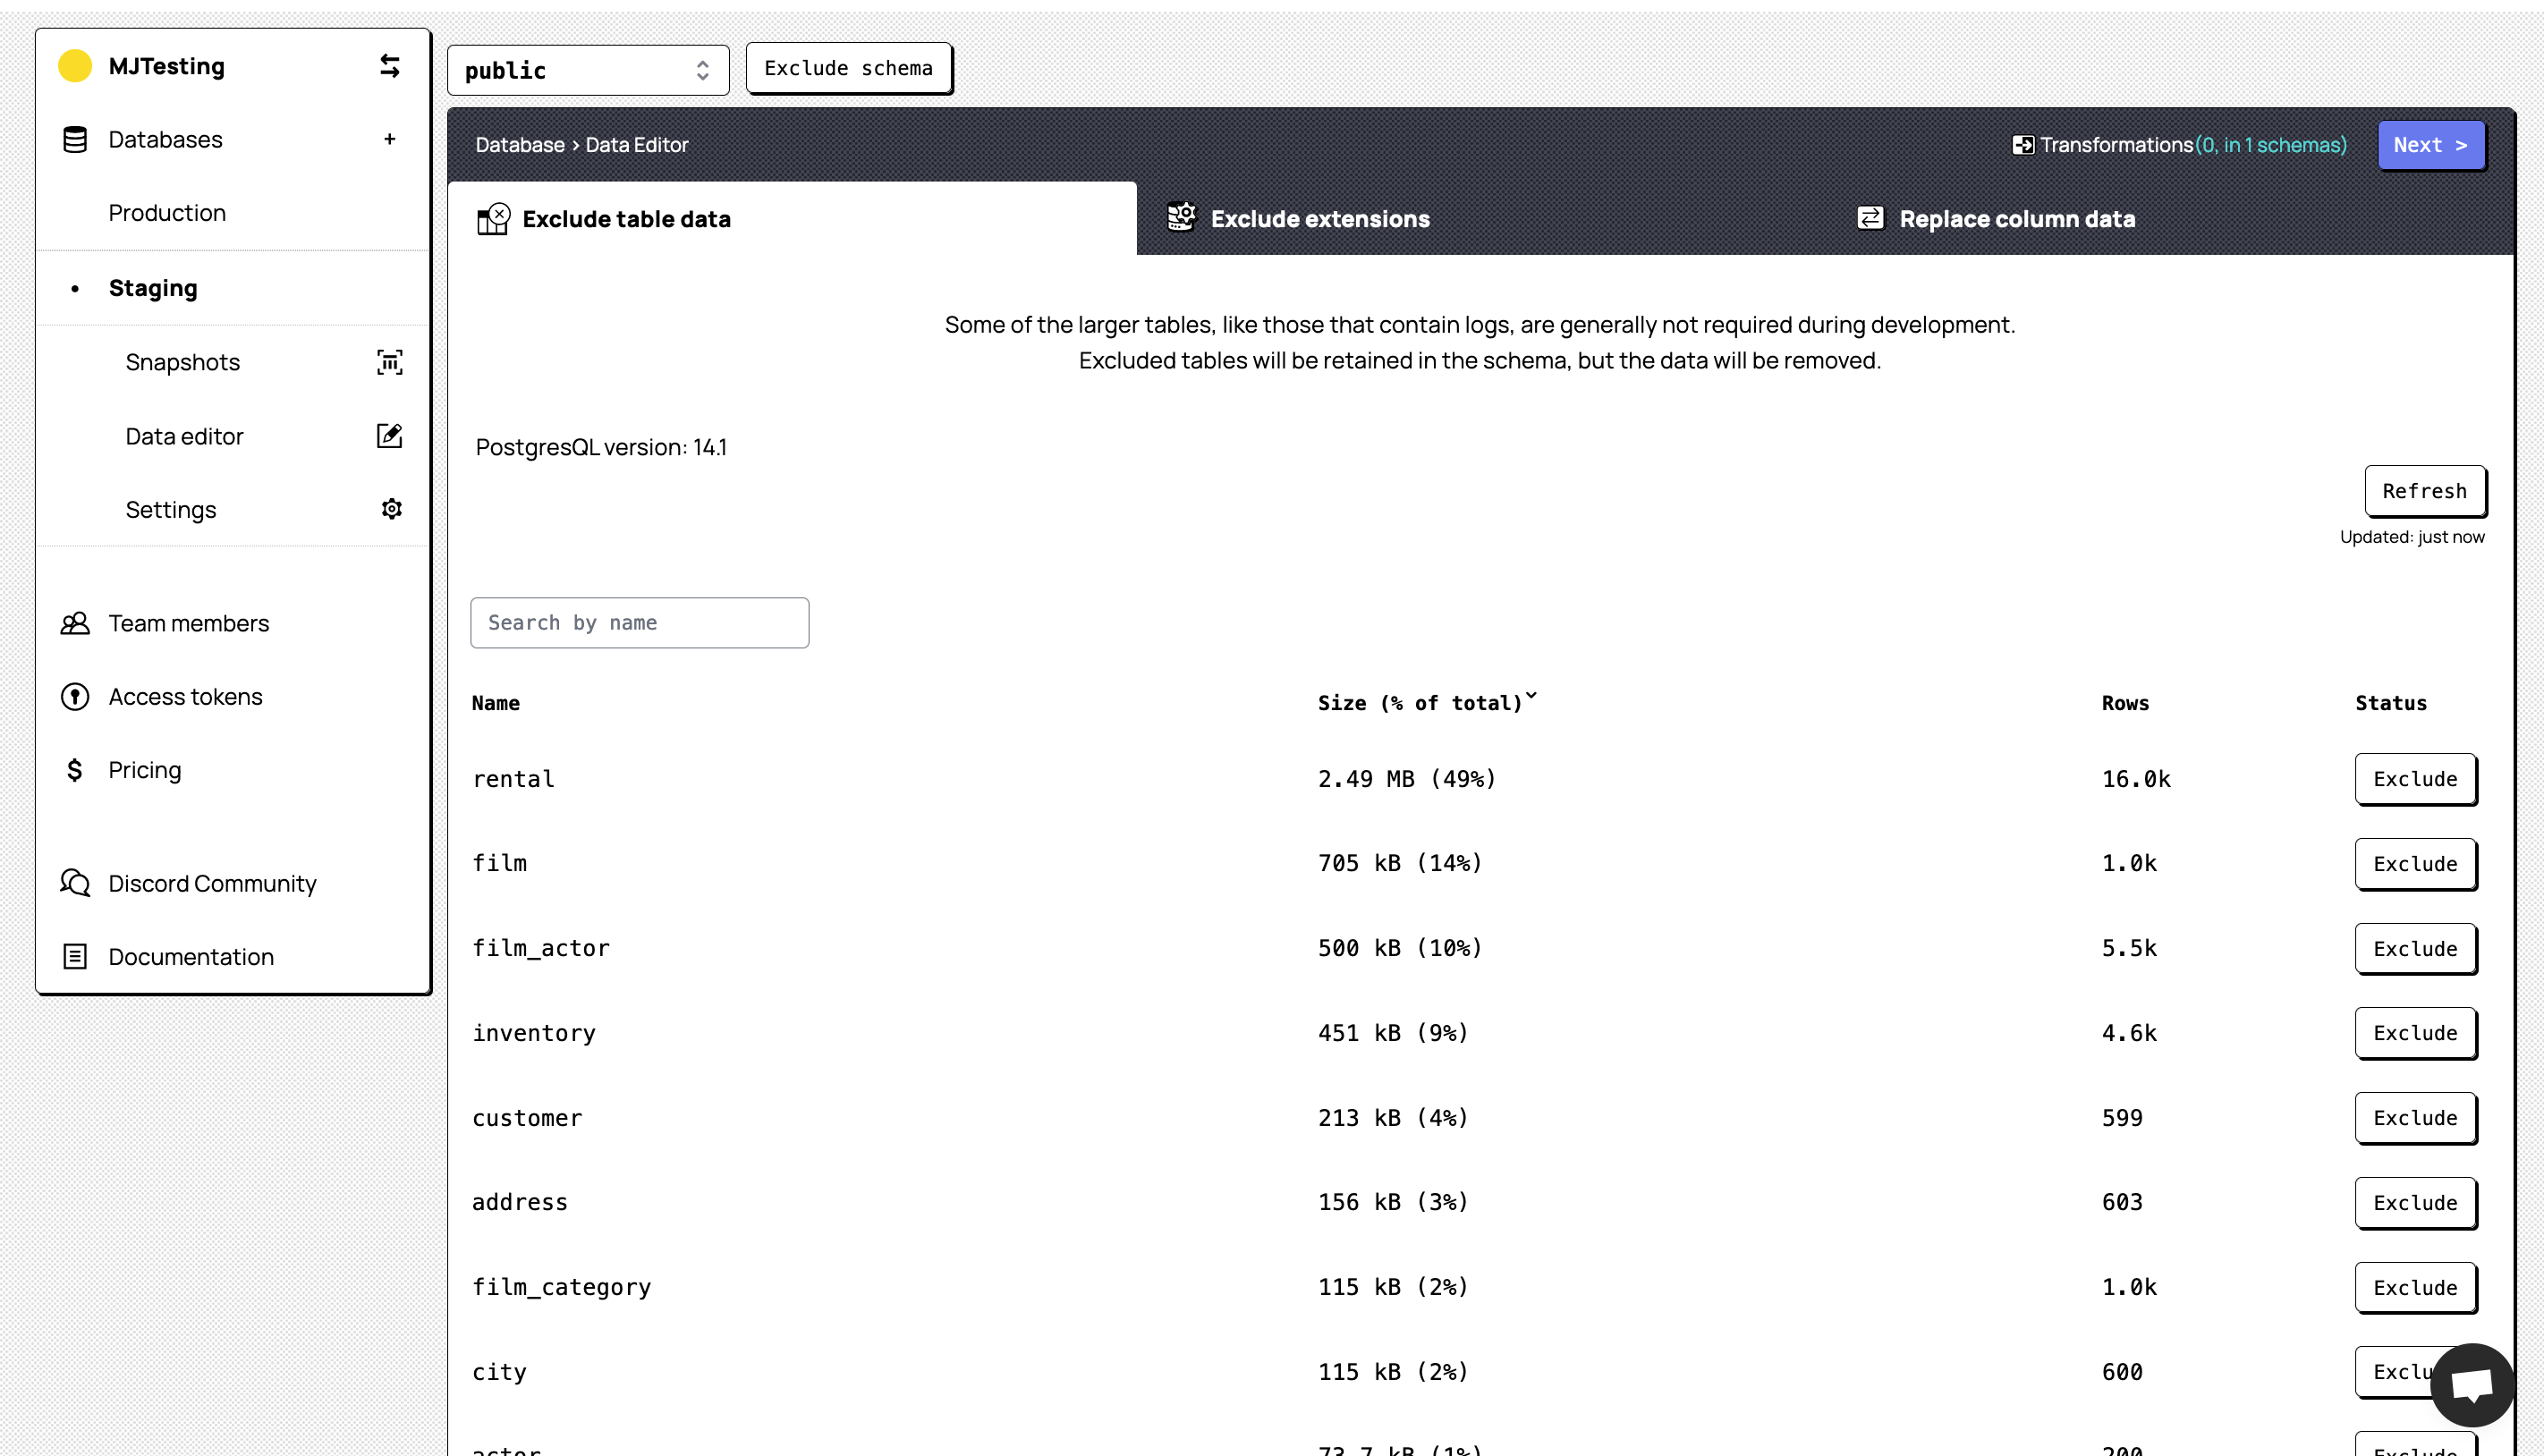
The next step is to exclude any schemas that you do not require. You are able to exclude an entire schema by clicking on the drop-down at the top, selecting the schema you would like to exclude and clicking ‘Exclude schema’. Alternatively, you can select a given schema and exclude only specific tables from that particular schema. Exclude any non-required table data (such as logs) and extensions and view your columns.
At this point, Snaplet will automatically detect any columns that have Personally Identifiable Information (PII) and mark them in purple. If there are any additional columns that hold data you would like to anonymise, you can click on the respective column name and provide a replacement value for the data in that column. To complete the onboarding, click on Review and Save and proceed to the dashboard.
2.3. Create a Snapshot#
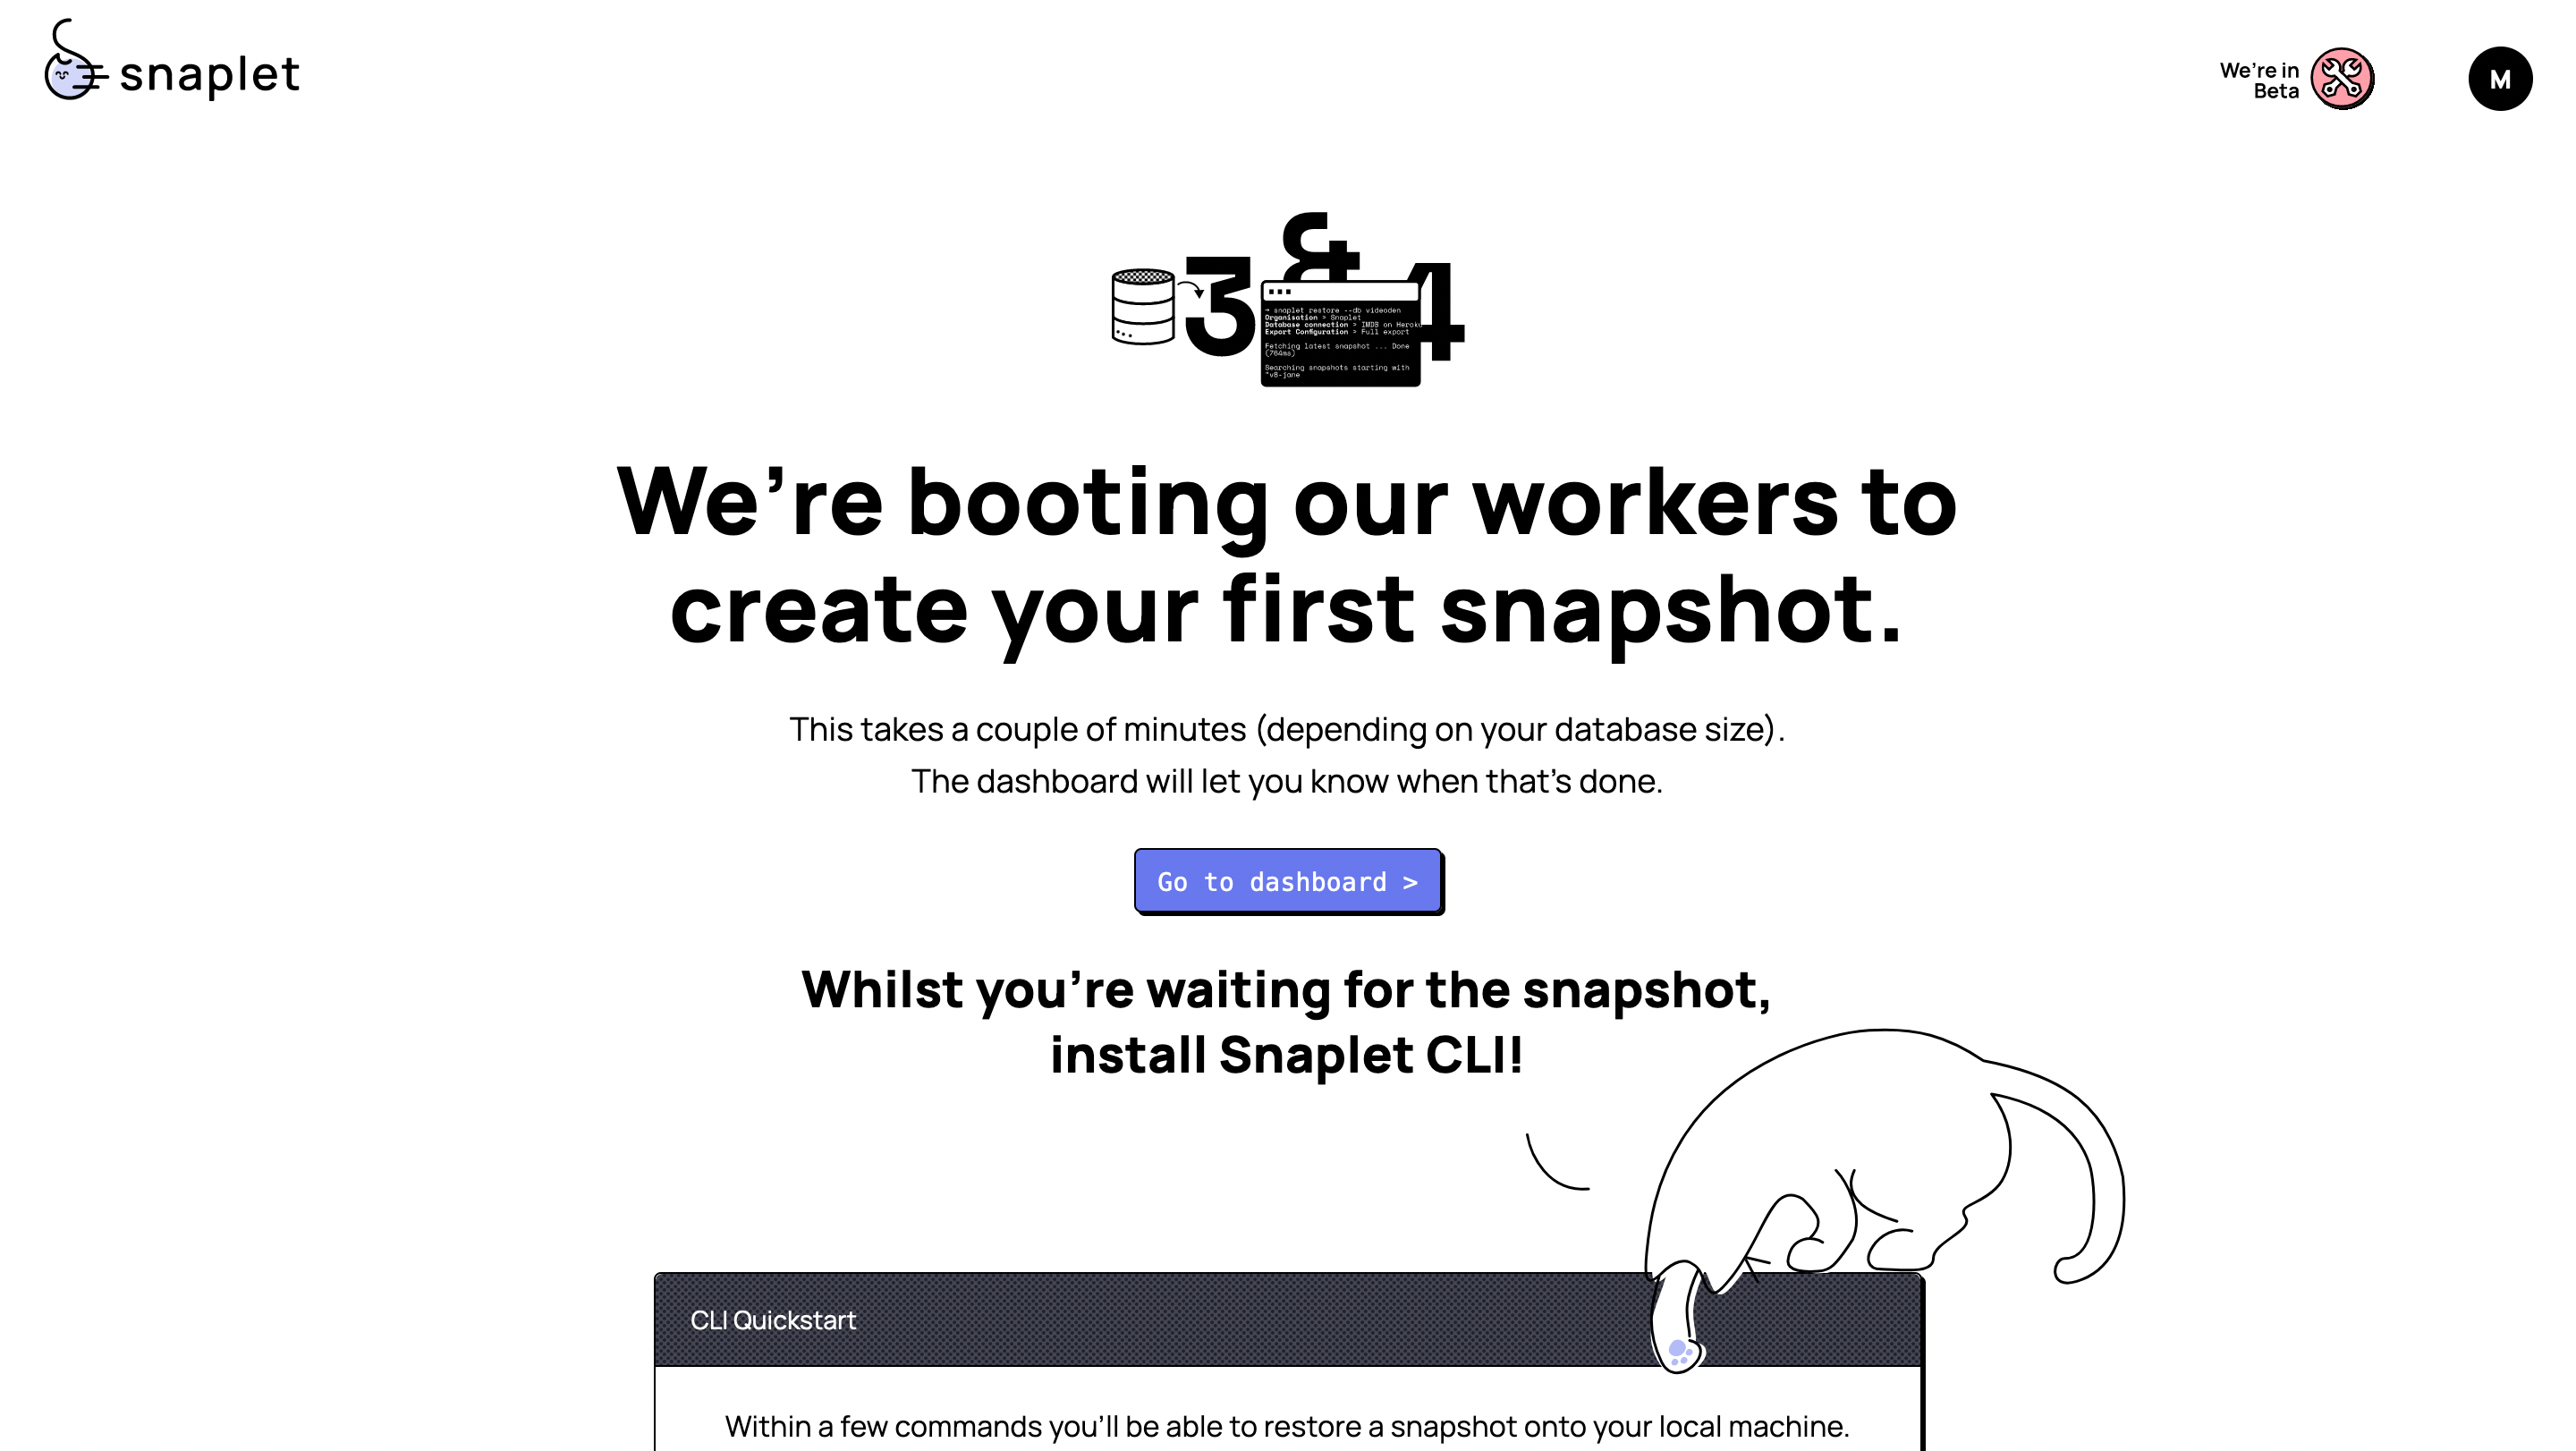
Create a snapshot of your production database. This is what you’re going to restore later into your data target (more on that later in the guide).
Step 3: Pasting into your development database#
3.1. Create a data target on Supabase#
Your data target is where you want Snaplet to restore the captured snapshot of your production project. This would most likely be either your staging or developer Supabase project. If you don’t already have a developer database setup on Supabase, create a new data target by setting up a new project on Supabase. To create a new project, follow the steps below:
- Go to app.supabase.com
- Click on “new project”
- Enter your project details
- Wait for the new database to launch
Remember the password you use when creating the project. You’ll need this password to connect your database to Snaplet later.
3.2. Make your postgres user a superuser#
Snaplet requires the ability to drop the database schemas whilst restoring a snapshot. In order to do that, Snaplet requires superuser privileges.
- Navigate to the
SQL Editorin your Supabase console - Click on
new query - Paste
alter user postgres with superuser;into the SQL editor - Run the query
3.3. Install the Snaplet CLI#
- Open your terminal and run
curl -sL https://app.snaplet.dev/get-cli/ | bash - Run
snaplet auth - Navigate to https://app.snaplet.dev/access-token/cli to get your access token
- Paste your access token in the terminal
3.4. Restore to the data target#
You're now ready to restore your production snapshot into your Supabase development project.
- Navigate to your project directory
- Run
snaplet setup– you will be prompted to enter your database credentials. These are the database credentials of your data target. This could be your staging or development database
Once completed, you will be presented with a list of databases that are connected to your Snaplet account.
- Select a data source from the list
- Run
snaplet snapshot restore
All done!#
As a Supabase user, you can see how this solves an issue developers all typically experience when attempting to create multiple development environments and populating each of those environments with data that can be worked with. Snaplet simplifies this process down to creating the respective Supabase projects, connecting the data source (The production database) to Snaplet and telling Snaplet where to restore that data (staging and development databases).
If you want to learn more about Snaplet, you can explore the Snaplet docs. If you have any questions, feel free to reach out on Discord.